
Inspired by my son´s adventurous historical hobbies, I broadened my jewellery making a couple of years ago from beads to chainmail. This design is a very popular one, probably as old as the byzantine times, as the name suggests. It feels and looks quite luxurious but at the same time it´s very easy to wear. I just started a new bracelet to give to yet another dear friend. 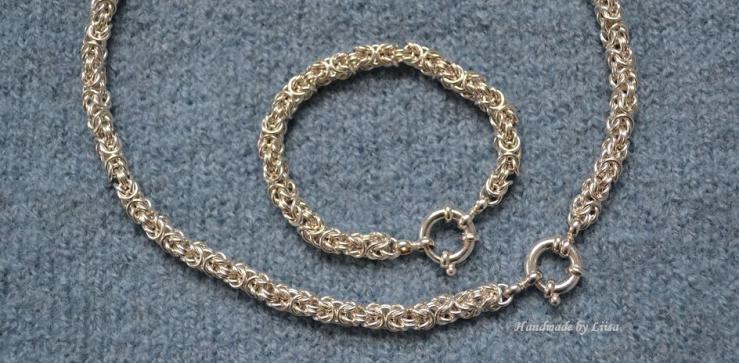 Ever since he was little, my son has been fascinated by history. In his teens he started making things that he needed for his medieval role-play hobbies. Nowadays this includes everything from undergarments to hats, shoes(!), armour and weapons. Taking after his mother, he has acquired quite a collection of unfinished projects into our cellar, garage and his own cupboards. One of them is a chain mail shirt that is still missing the other sleeve. To start the project he wound iron coil around a centimeter thick steel rod to make the rings. I´ve used the same technique here to make this jewellery. The bracelet and necklace are made from 1.2 mm thick solid silver wire that I wound around a 4 mm knitting needle modified for this purpose. To give you an idea of how this works here´s a photo of the winding process. Nearly the whole length of the needle has been covered with the wound silver wire which runs through two slats of wood to keep the tension while winding.
 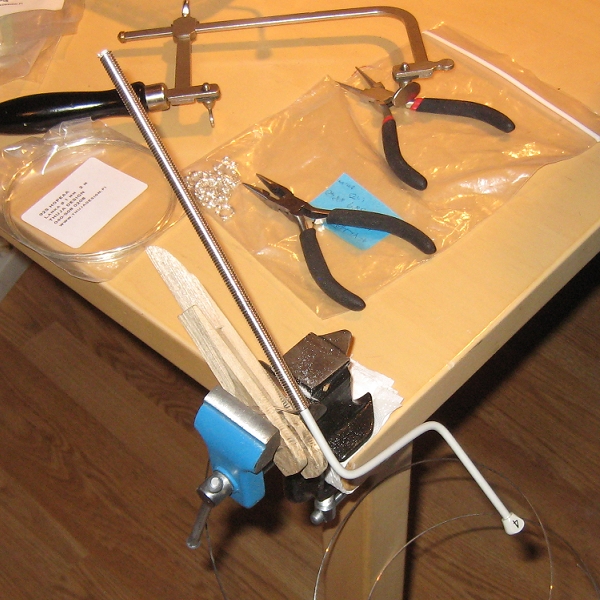 My son used pliers to cut the rings for the chainmail but for the silver wire I use a little metal saw to make the cut even and virtually invisible when the ring is closed. The knitting needle has a groove at the top end through which the blade runs to guide the saw. (Hopeless photo I know! Il´ll try to get a better one next time I´m at it…)
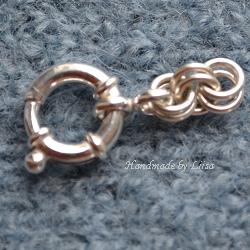
 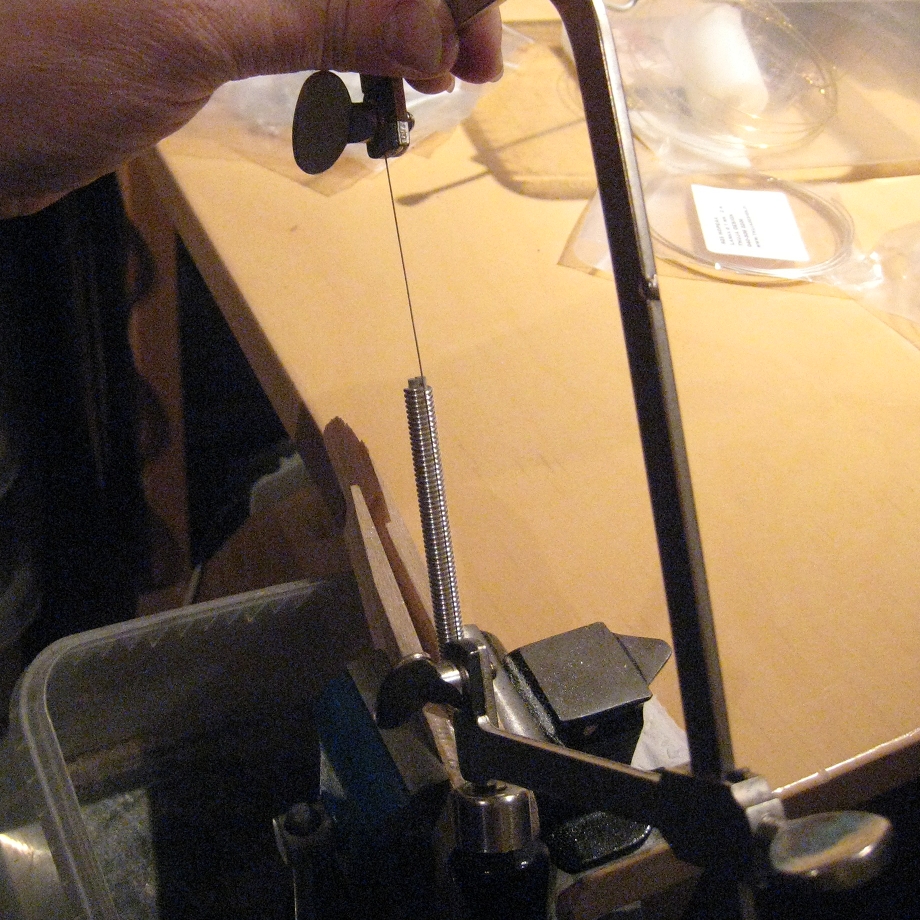 On the internet there are a lot of sites where you´ll find comprehensible explanations on how to link the rings to make a byzantine chain (that´s how I learned) so just to show you that it´s not rocket science here´s a couple of steps. Using two small pliers open the rings by twisting one side back and the other forward (don´t pull them apart!). To begin the chain you make a simple double chain with three consecutive links (first picture below). Then you turn the last two rings to the side and backwards, open the second to last twin rings (the top chain on the second picture below) and thread two new rings through the folded back ones, between the opened up rings. Continue until you have three consecutive double links again before flipping the last ones back etc. Confused? It´s actually quite simple once you get the hang of it!!
Materiaalit ja työkalut olen hankkinut Thuja designilta. Omistaja Tuija Suutarinen pitää myös koruntekokursseja. http://www.thujadesign.fi/
Erinomaisen havainnollisesti ohjeet koko prosessille löysin alunperin Hämiksen Koruväkertelyt -sivustolta. http://hamis.vuodatus.net/sivut/ohjeet-paasivu

Olen sanaton ihastuksesta ❤
LikeLike
Aivan uskomattomia taidonnäytteitä!
LikeLike
Kiitos Kirsi 🙂
LikeLike
[…] I’ve made quite a number of chainmail bracelets for graduation gifts and birthday presents. Usually I use a weave called the byzantine chain, or “king’s chain” as it’s called in my native finnish. The weave of this slightly less elaborate design is called the ‘Jens pind’. This particular bracelet was woven from little rings with the inner diameter of 3mm. For the rings I used a 1mm thick solid silver wire, winding it around a knitting needle. For more info on how it was made and the chainmail technique see the post on the byzantine bracelet. […]
LikeLike