
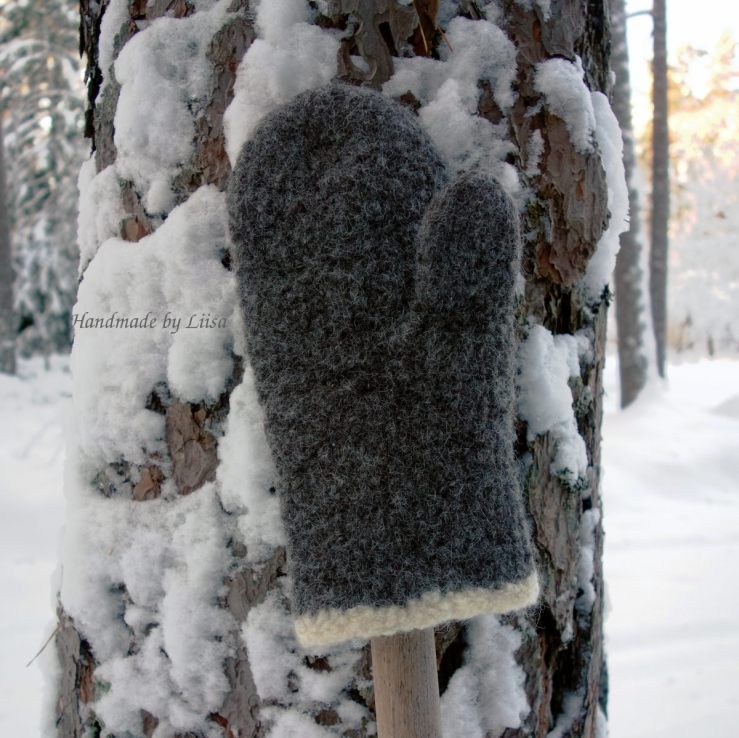
 We’re in the middle of winter with forecasts of temperatures well below freezing as far as they’ll predict. A pair of woollen felted mittens is just what’s needed for this weather and I had to replace an old pair. For felting you need a 100% wool yarn, preferably loosely spun. Mine is an discontinued old Novita felting yarn “Huopanen” which is relatively thick and single ply, 100g ≈ 157m. The shrinkage when felted is about 40% of the original knit.
*
Suomenkieliset ohjeet vastaaville lapasille löytyy Novitan sivuilta 🙂
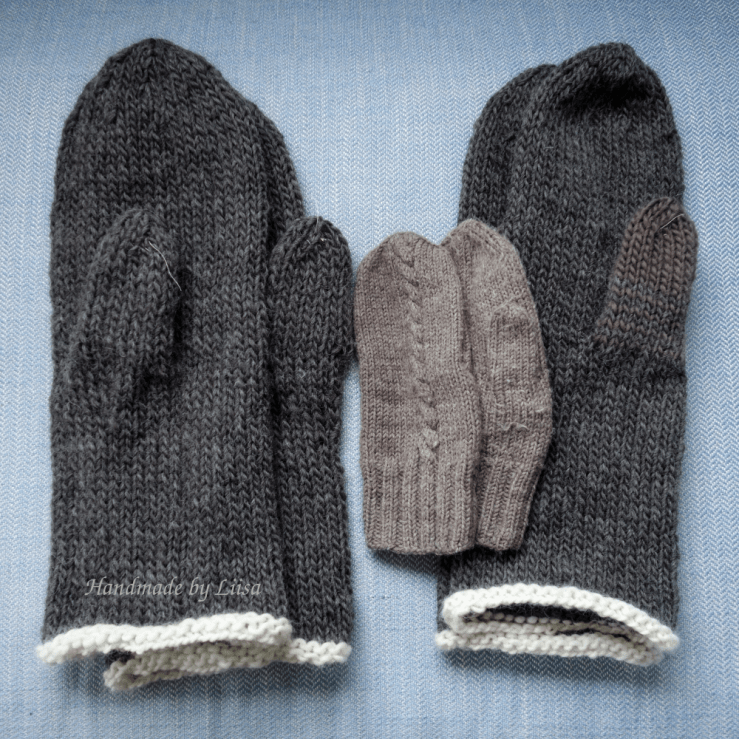
The first pair, on the left is knitted with 10mm needles, and the second with 8mm. As you can see the mittens are huge compared to a normal mitt before they’re felted. For the left ones I added a stitch on two rows under the thumb to give a little extra space. I ran out of thread at the end so the thumbs of the second ones are slightly different in colour!
There’s a pattern in English here for some oven mitts that are made much the same way (except the thumb), but here are the directions for my women’s size mittens:
Cast on 40 stitches. Knit in a round and start with one or two rows of purl. Then knit stocking stitch for about 20 cm before leaving 8 stitches to wait for the thumb. I usually knit them with a contrasting thread and then move the same stitches back onto the left needle to continue. Knit for another 20 cm and start the decreases.
The decreases are made the same way as I always do for socks and mittens: knit two together evenly two times on each needle (1st row with 10 st per needle *knit 3, 2tog* repeat), then knit as many rows as there are stitches between the decreases, then another decrease row (*knit 2tog, knit 2*) etc until there are just two stitches per needle. Pull the thread through the remaining stitches.


Pick up the stitches for the thumb and a few more from the sides to make the opening less tight and prevent holes. Knit one row with these and on the second row knit two together where you picked up the extras so that you end up with 15 stitched altogether, 5 on three needles. Continue with these until the thumb is about 11 cm long, then knit 2 together at the end of each needle until you have just 2 on each one. Pull the thread through the remaining stitches and finish all ends.
It’s a good idea to secure a little piece of plastic bag inside the thumb before felting so it doesn’t stick to itself. Just sew a couple of stitches with ordinary sewing thread through the tip of the thumb and the plastic.
Wash on a normal 40°C cycle using normal detergent and with a towel for example. Each machine is a little different so you might have to wash them again if they’re not felted enough, or stretch them while still wet if they felted too much. My one hour cycle is just right, but if you have a much longer one try a gentler wash first.
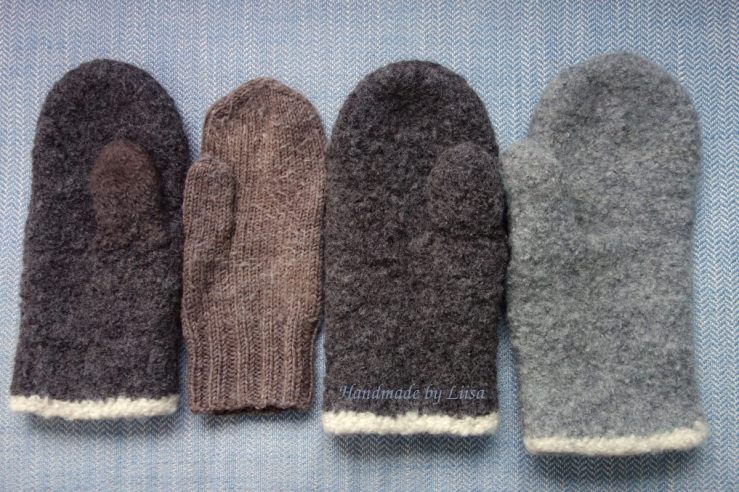
The ones on the right are my husband’s well used old mittens(size 10). The ones that were knitted with 8mm needles, on the left, are perfect for me (size 8) and the 10 mm ones are just slightly roomier, to give away next Xmas?

[…] come about 10cm down the wrist. They are softer and much more supple than the felted mitts in my previous post . You will find more instructions there but here’s the stitch count for these thinner and […]
LikeLike